In a world where sharing your screen is as vital as sharing your lunch order, knowing how to film your iPhone screen is a game changer. Whether it’s capturing that epic gaming moment or showcasing your latest app obsession, screen recording has become the unsung hero of digital storytelling. And let’s be honest, who doesn’t want to impress their friends with a slick tutorial or an epic fail video?
Understanding Screen Filming
Screen filming on the iPhone offers numerous benefits. Capturing content directly from the screen allows for effective communication and engagement.
Importance of Screen Filming
Screen filming serves several crucial purposes. It enhances digital storytelling, giving users the ability to share experiences vividly. Recording can help in creating tutorials, making complex tasks easier for viewers. Gamers benefit by showcasing highlights, turning gameplay into shareable moments. This versatility in content attracts more viewers and enhances learning opportunities.
Applications of Screen Filming
Various applications utilize screen filming effectively. Educational platforms rely on tutorials to guide students through difficult concepts. App developers showcase features and functionalities via demonstrations. Social media influencers create engaging video content to connect with their audience. Businesses leverage screen recordings for marketing purposes, highlighting product features and services. Each application maximizes the impact of captured content, leading to improved reach and engagement.
Preparing Your iPhone

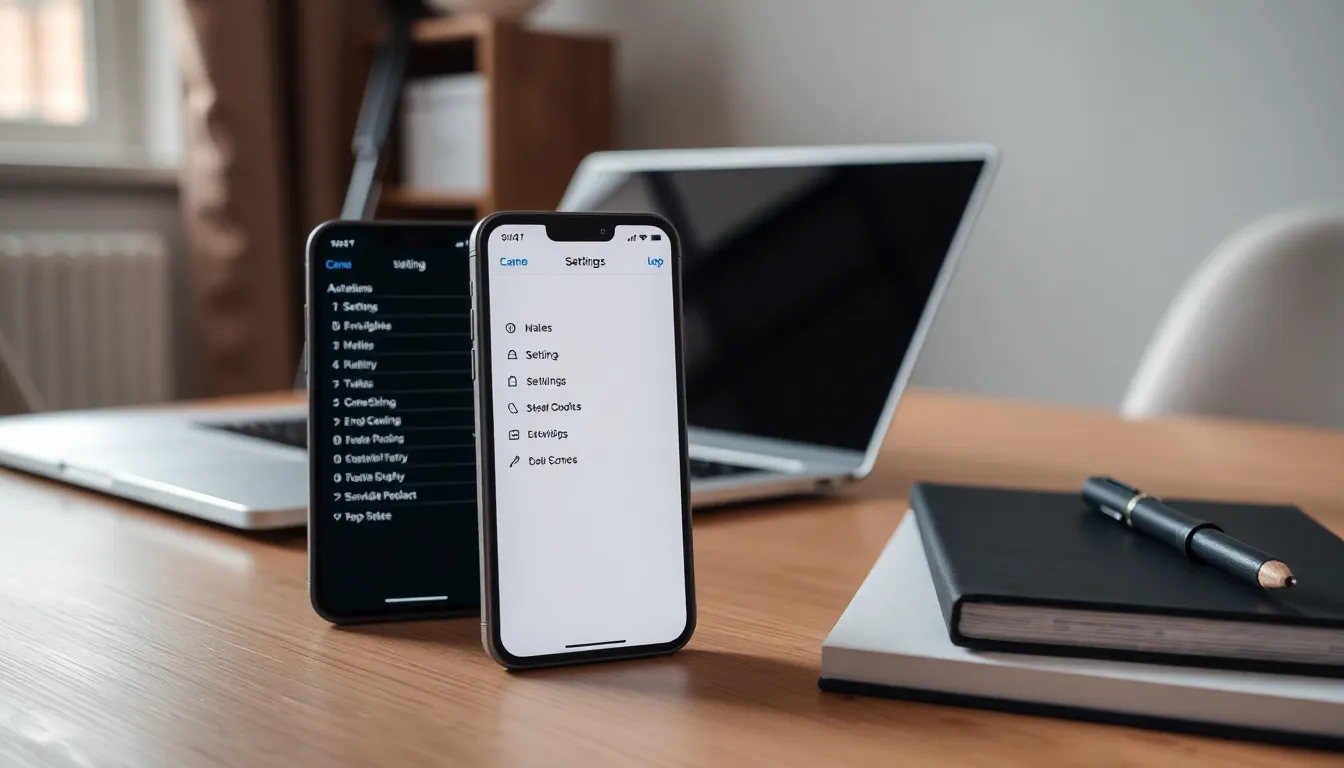
Preparing your iPhone for screen recording involves a couple of essential steps. Ensuring everything is set up correctly leads to a smoother filming experience.
Checking for Compatibility
Check that the iPhone model supports screen recording features. Models from iPhone 5s and newer are compatible. Verify that the iOS version is 11 or later since this feature was introduced in iOS 11. Look for the screen recording option under Settings, Control Center, and Customize Controls. If it appears there, your device is good to go.
Updating Your iOS
Updating the iOS ensures access to the latest features and improvements. Go to Settings, then General, and tap on Software Update to check for available updates. If an update is available, download and install it. Performing regular updates keeps the iPhone functioning optimally, improving overall performance and security. Following these steps prepares the iPhone for an efficient screen recording process.
How to Film Your Screen iPhone
Recording the screen on an iPhone is straightforward. Following a few simple steps allows users to capture their screens easily.
Enabling Screen Recording
To enable screen recording, open the Settings app. Navigate to Control Center and select Customize Controls. Find Screen Recording in the More Controls section. Tap the green plus sign to add it to your Control Center. This adjustment ensures quick access to the feature whenever needed.
Using Control Center
Accessing the Control Center is simple. Swipe down from the top-right corner of the screen on iPhone models with Face ID. For models with a Home button, swipe up from the bottom edge. Look for the Screen Recording icon, which resembles a circle within another circle. A single tap begins the recording, and a countdown indicates the start. To stop recording, tap the red status bar at the top and confirm. Captured videos save directly to the Photos app, making it easy to share.
Tips for Effective Screen Filming
Effective screen filming on an iPhone enhances the clarity and engagement of the content. Utilizing these tips can significantly improve the overall quality of recorded videos.
Optimizing Recording Settings
Adjusting recording settings ensures the best output quality. Navigate to the Settings app, then select Control Center and tap Customize Controls. Adding Microphone Audio will capture audio, making tutorials and gaming sessions more engaging. Set the resolution to 1080p for high-quality visuals. Consider recording in landscape mode for a wider perspective, especially during gaming or app demos. Avoid background distractions by choosing a quiet environment and turning off notifications to prevent interruptions during filming. Check your available storage too, as plenty of space is necessary for longer recordings and ensuring no unexpected cuts occur.
Editing Your Screen Recording
Editing screen recordings adds professionalism and clarity to content. Use the built-in Photos app for basic edits, such as trimming unwanted sections at the beginning or end. To access editing features, open the video, tap Edit, and use the trim tool to cut specific segments. Adding annotations can clarify instructions during tutorials on apps. Utilize third-party editing apps, like iMovie or InShot, for advanced features, such as transitions, soundtracks, and effects. Experimenting with speeds can create dramatic replays or highlight moments, engaging the audience more effectively. Always save a copy of the original before making significant changes to preserve the initial content.
Screen recording on an iPhone opens up a world of possibilities for both personal and professional use. By mastering this feature, users can effectively share their experiences and knowledge while creating engaging content. Whether it’s for tutorials, gaming highlights, or marketing strategies, the ability to film the screen enhances communication and connection with audiences.
With the right preparation and settings, anyone can produce high-quality recordings. Incorporating editing techniques further elevates the final product, ensuring it captures attention and delivers value. Embracing screen recording can truly transform the way users interact with their digital content.